As an avid RV enthusiast, ensuring the cleanliness and safety of your freshwater system is crucial for a pleasant and worry-free journey. One of the most important maintenance tasks is sanitizing your RV’s freshwater holding tanks. In this blog post, we will guide you through a step-by-step process to effectively sanitize your tanks, ensuring a clean and healthy water supply for your adventures on the road.
Step 1: Turn Off the Pump, Gas, and Electric Water Heater
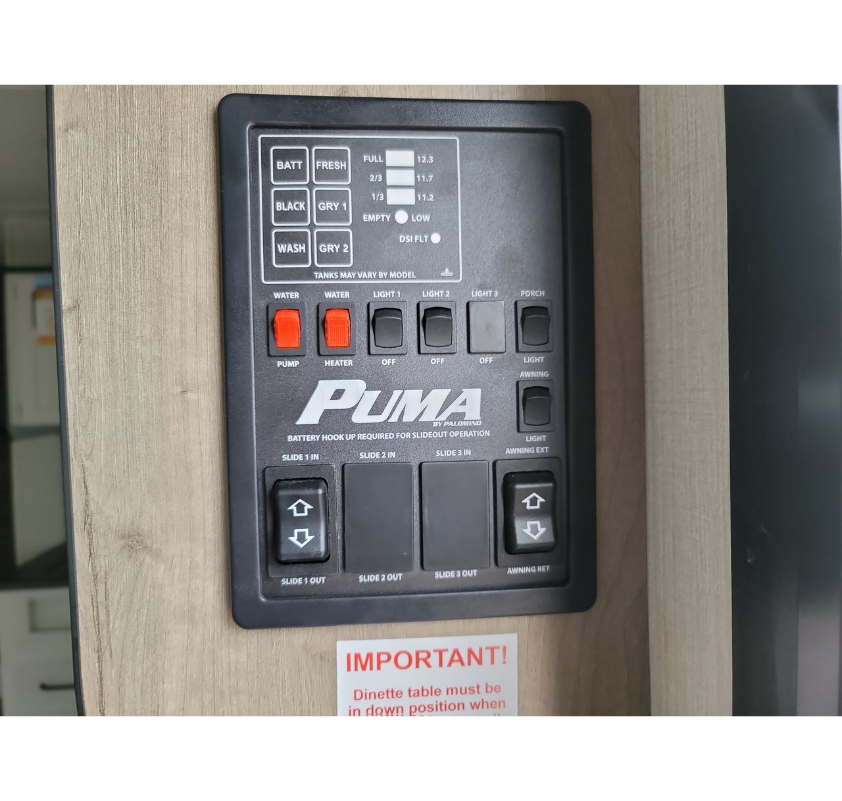
Before starting the sanitization process, it’s essential to turn off the pump, gas, and electric water heater in your RV. This precautionary step ensures safety and prevents any accidental water flow during the procedure.
Step 2: Drain the Hot Water
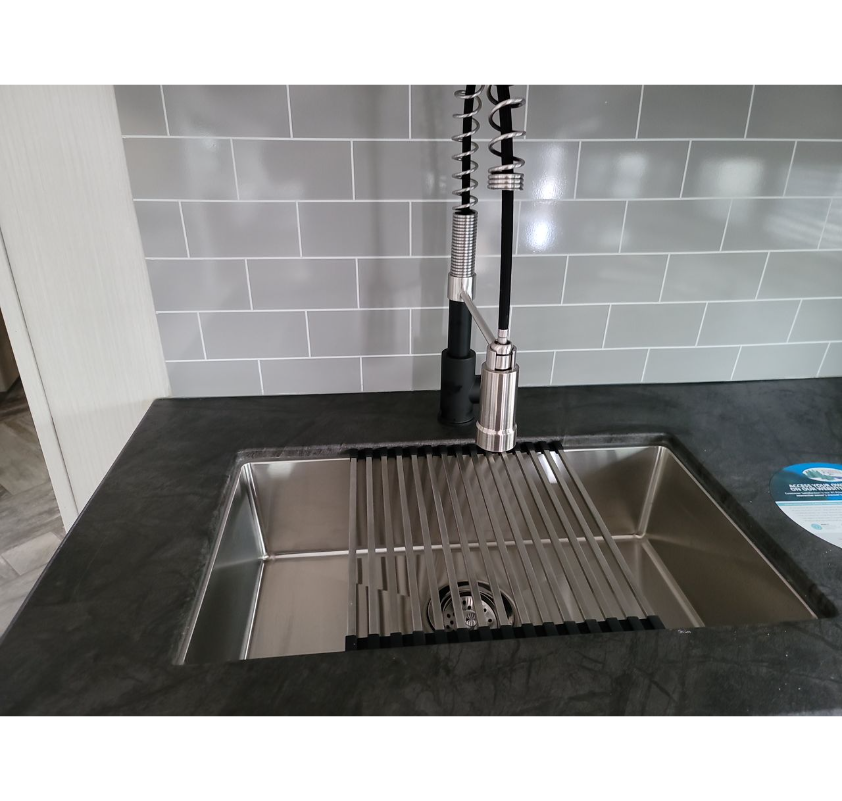
Turn your faucets on to the hot setting and let the hot water drain out completely. This step helps remove any residual hot water from the system, allowing for a fresh start during the sanitization process.
Step 3: Drain the Hot Water Heater
To ensure a thorough sanitization, it’s important to drain the hot water heater as well. Locate the drain valve on your hot water heater and let it drain completely. This helps remove any remaining water from the system, including the water in the heater.
Step 4: Drain the Freshwater Tank
Locate your RV’s freshwater inlet and look underneath to find the lever for draining the fresh water tank. Pull the lever to drain the tank completely. This step helps remove any existing water, debris, or contaminants from the tank.
Step 5: Prepare the Sanitizing Solution
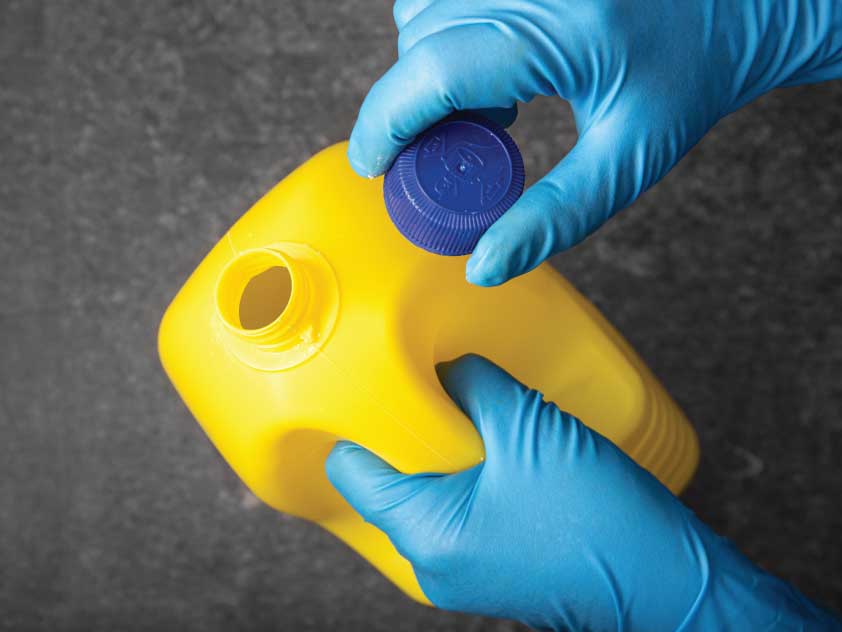
For effective sanitization, it’s crucial to use a properly proportioned sanitizing solution. Put on proper safety gear and precautions, and mix 1 ounce of bleach for every 8 gallons of fresh tank capacity. Ensure you calculate the bleach amount according to your RV’s specific tank capacity.
Step 6: Add the Sanitizing Solution
Shake the sanitizing solution mixture thoroughly and pour it into your freshly drained freshwater tank. Fill the tank back up to its full capacity using a clean water source. This ensures that the sanitizing solution is evenly distributed throughout the tank and the water lines.
Step 7: Turn On the Water Pump
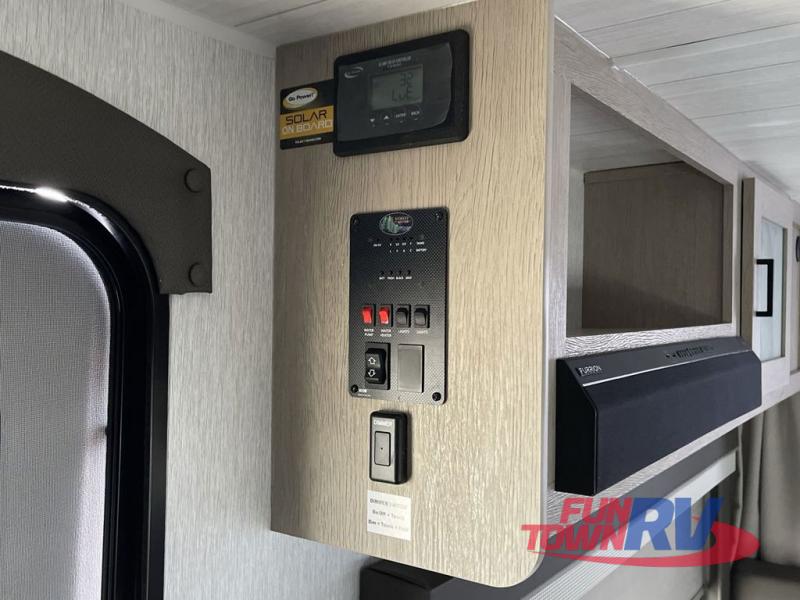
With the sanitizing solution in the tank, it’s time to turn the water pump back on. This step allows the solution to flow through the entire system, including the pipes, faucets, and showerhead.
Step 8: Open All Faucets and Shower
To ensure thorough sanitization, open all the faucets in your RV, including the shower. Let the solution run through each faucet for a few minutes, ensuring it reaches all corners of the water system. This step helps sanitize the entire water distribution network.
Step 9: Allow the Solution to Sit
Let the sanitizing solution sit in the water system for at least 12 hours, but no longer than 24 hours. This duration allows the bleach to effectively kill any bacteria or contaminants present in the system. Leaving the solution for an extended period may damage the pipes and fixtures.
Step 10: Flush the System
After 12 hours, no longer than 24 hours, has elapsed, open the freshwater tank drain as well as all the faucets in your RV until the bleach smell completely dissipates. This ensures that the sanitizing solution is thoroughly flushed out from the system, leaving your tank clean and ready for normal use.
Sanitizing your RV’s freshwater holding tanks is an essential maintenance task that guarantees a safe and healthy water supply during your travels. By following these ten simple steps, you can effectively sanitize your tanks, ensuring a clean start for your next adventure on the road. Remember to prioritize safety and take necessary precautions throughout the process. With a clean and sanitized freshwater
